
A carport is an excellent addition to any home, providing your vehicle with protection from the elements while also increasing the value of your property. If you’re looking for an affordable and easy way to protect your car or other vehicles, a DIY carport kit might be the best option for you. In this blog post, we’ll look at some of the different techniques you can use when setting up a DIY carport kit.
Choosing Your Location
The first step in setting up your carport is choosing where it should go. Ideally, it should be placed near your house or garage so that it’s easy to access and maintain. Make sure that the area you choose has good drainage and is away from trees to minimize potential damage from falling branches. Also, make sure that there are no power lines nearby that could be affected by the construction process.

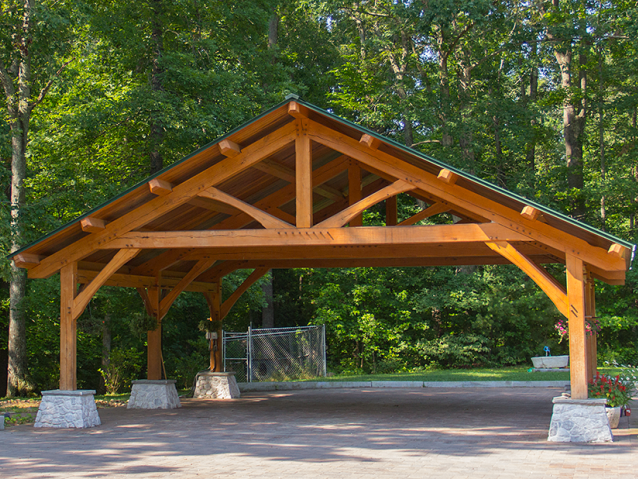
Installing Your Carport Kit
Once you’ve chosen a location for your carport kit, it’s time to start assembling it. The exact assembly process will vary depending on which type of kit you purchased, so make sure to read all the instructions carefully before beginning. Generally speaking, most kits come with all the necessary components such as posts, beams, rafters, purlins and girts along with screws and bolts needed for assembly. It’s important to assemble everything properly as any mistakes could lead to structural problems down the line.
Protecting Your Car
Once your carport has been assembled, there are some measures you can take to further protect your vehicle from wind or rain damage. For example, installing gutters around the perimeter of the carport will help direct rainwater away from your vehicle while also preventing rust formation on its surface over time.
You should also consider adding a water-sealant coating on any exposed metal components such as posts or beams in order to prevent further corrosion due to moisture exposure. Finally, if possible try adding some extra insulation underneath the roof of your carport in order to reduce heat gain during hot summer days and keep temperatures inside more comfortable for both yourself and your vehicle’s interior components.
Additional Benefits
Aside from providing shelter for vehicles, DIY carports can also offer additional benefits such as providing shade from sunlight during the hot summer months or protection against snow and ice in colder climates. They can even add value to your home if you decide to sell it down the line! Additionally, many homeowners choose to use their carports for extra storage space by adding shelves or racks – this makes them even more useful!
Conclusion:
Installing a DIY carport kit is an excellent way of protecting both yourself and your vehicle from harsh weather conditions while also adding value to your property. By following these tips on choosing an appropriate location for installation as well as taking additional steps such as installing gutters or adding insulation underneath the roof of your new structure—you can ensure that both you and your vehicle stay safe during even extreme weather conditions!